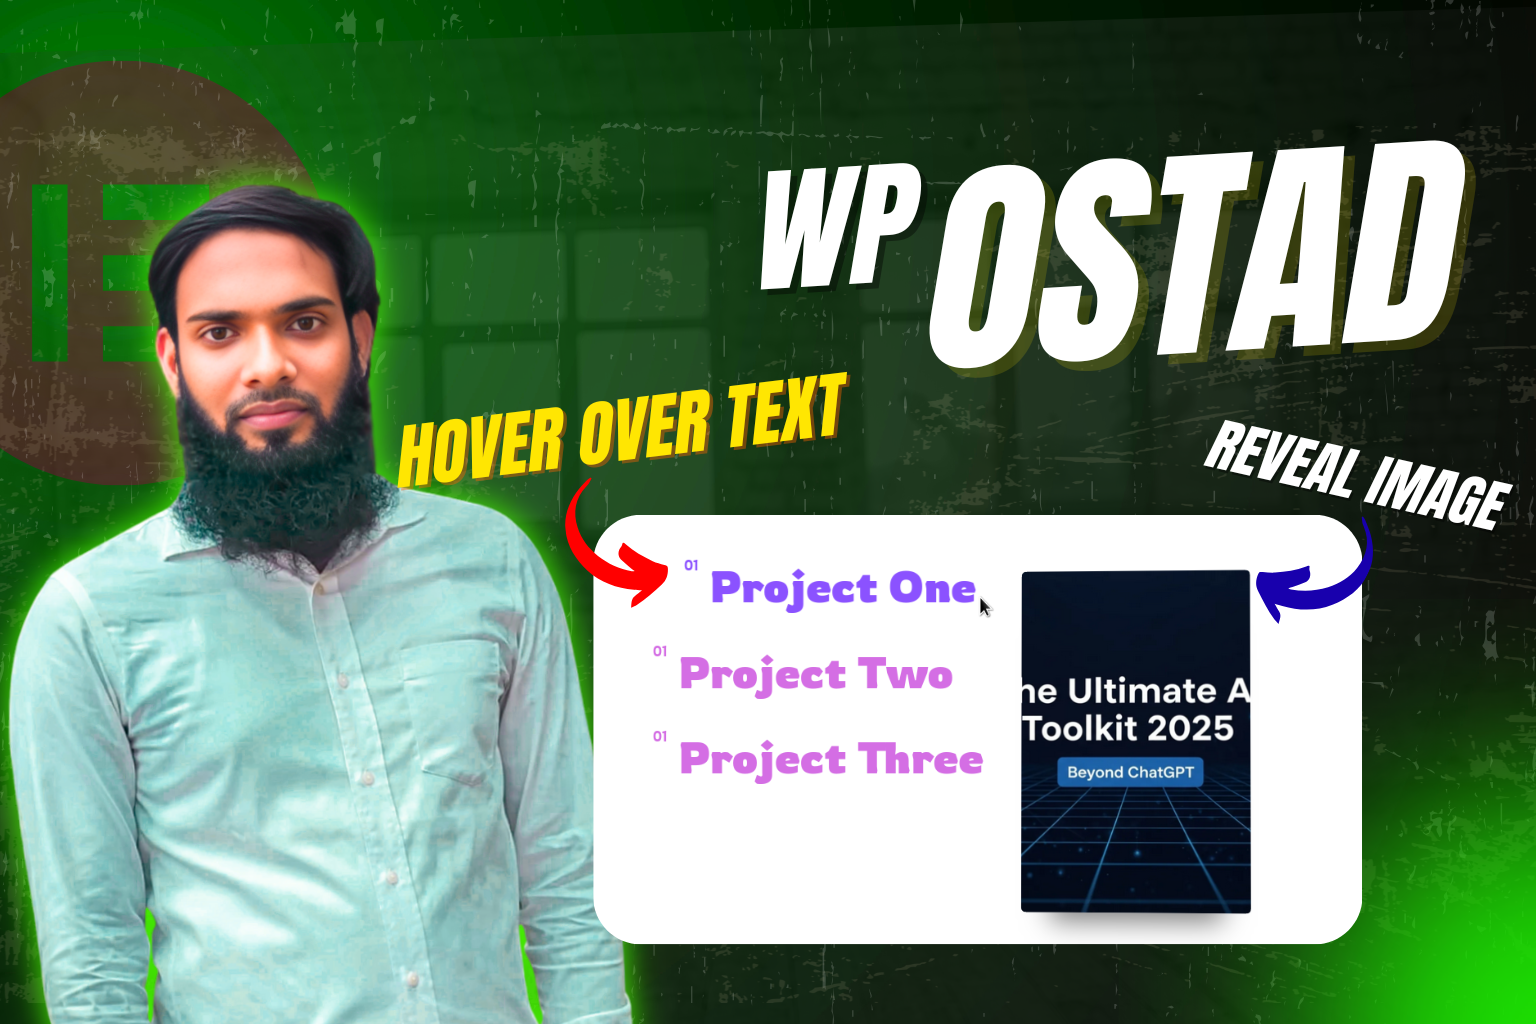
Ever get jealous of those slick, next-level interactions on Webflow sites? Me too! In this tutorial, I’m bringing one of my favorite Webflow-style effects to Elementor: the ‘hover over text to reveal image’ interaction.
Learn how to create a stunning effect where a unique image appears and follows your cursor as you hover over different text links or list items. The best part? We’re doing this with the FREE version of Elementor and a little bit of simple Custom CSS.
I’m on a mission to see just how close we can get to Webflow’s amazing interactions using only Elementor. This is the first of many experiments, so if you love adding a premium, interactive feel to your websites, you’re in the right place!
👇 In this Elementor Tutorial, you will learn:
✅ How to structure your text/links for the effect.
✅ How to add the necessary HTML and CSS classes within Elementor.
✅ The simple Custom CSS code that makes the magic happen (code provided!).
✅ How to customize the image position, size, and animation to fit your design.
This is a perfect way to elevate your portfolio, service lists, or any creative project to make it stand out.
💬 What Webflow interaction should I try to replicate next in Elementor? Let me know in the comments below! And if you found this helpful, a thumbs-up would be amazing! 👍
code
Hide the Image by Default
This first snippet makes the image with the class .img-one invisible initially.
					/*
 * Hides the element with the class "img-one".
 * Apply the class .img-one in the CSS Classes field
 * in Elementor for the target image.
 */
.img-one {
  display: none;
}
Style the Number
This code will make the element with the class .number (like “01”) appear smaller and positioned slightly higher, like a superscript.
					/*
 * Styles the element with the class "number".
 * This makes the font smaller, lighter, and aligns it to the top.
 * Apply the class .number in the CSS Classes field in Elementor.
 */
.number {
  font-size: 1rem; /* Makes the font smaller */
  font-weight: 200; /* Makes the font thinner */
  vertical-align: super; /* Aligns the text like a superscript */
  vertical-align: text-top; /* A fallback for vertical alignment */
}
Show Image on Heading Hover
When you hover your mouse over the heading with the class .text, this CSS will make the hidden image (.img-one) appear.
					/*
 * Shows the .img-one element when hovering over the .text element.
 * The image is positioned absolutely and sent to the back with z-index.
 * A smooth transition is added for the effect.
 * Apply the class .text to your heading element in Elementor.
 */
.text:hover ~ .img-one {
  display: block; /* Makes the image visible */
  position: absolute; /* Positions the image relative to the nearest positioned ancestor */
  z-index: -1; /* Puts the image behind other content */
  transition: 0.9s ease-out; /* Adds a smooth fade-in effect */
}
Change Heading Color on Hover
This final piece of code changes the color of your heading title when you hover over it. You can replace #8b52ff with any color you like.
					/*
 * Changes the color of the heading title when you hover over it.
 * The 'selector' keyword targets the specific Elementor widget you are editing.
 * Change #8b52ff to your desired hover color.
 */
selector .elementor-heading-title:hover {
  color: #8b52ff;
}
